 Below, Bev shares both what a Rain Garden is, and how you can build one in your own back yard!
RAIN GARDENS
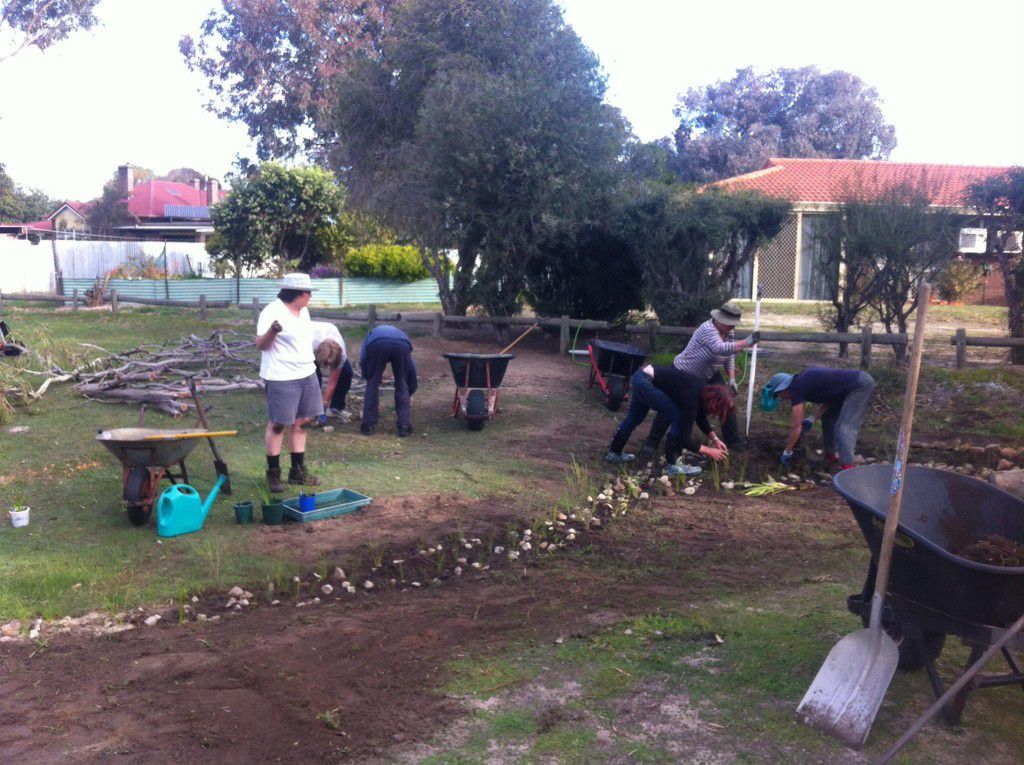
Rain Gardens or Bioretention Systems are excavated basins or trenches filled with layers of stones and soil then planted with native plant species which tolerate periodic inundation. The object of a Rain Garden is to retain stormwater on site where it is used by plants to create green areas which provide microclimate benefits, biodiversity and wildlife habitat. Rain Gardens can be small or large depending on the area available and the amount of water to be retained. In public areas they can be used to remove pollutants from road stormwater, slow the flow which takes pressure off downstream infrastructure, and create green aesthetic areas for public enjoyment. The rain garden should be connected to the usual stormwater system so water from heavy rainfall events can be removed. (For more information on using Rain Gardens in public spaces, see Department of Water pages here, or check out New Water Ways for best practice in urban water management.) In private gardens, stormwater from gutters directed to a rain garden will cool the soil and increase water availability for the garden. There should be an outlet where excess water can be directed during a high rainfall event. Rain Gardens make great habitat for frogs, beneficial bugs, and boggarts 🙂MAKING YOUR OWN RAIN GARDEN
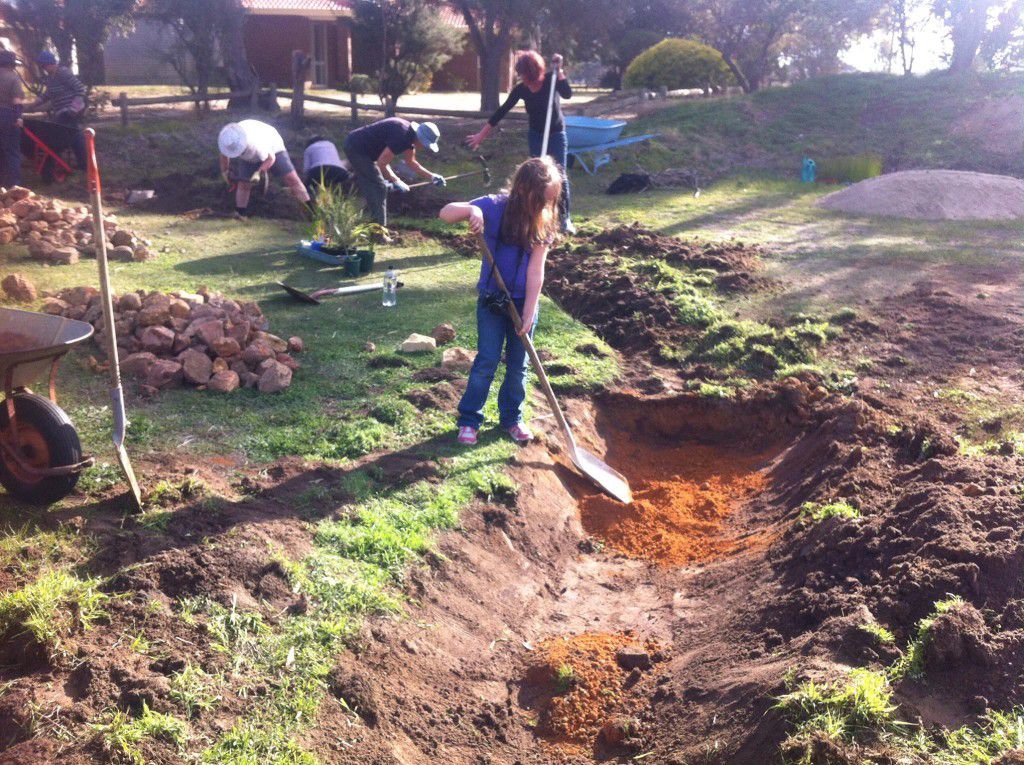
- Dig a trench or bed ideally about 50 cm deep.
If the soil is sandy a layer of clay gravel can be placed in the bottom to slow infiltration.

Photo Credit: Matt Collis
- Place a layer of rocks, blue metal or washed gravel in the bed.
The depth depends on the depth of your bed. The spaces between the rocks is your water storage.
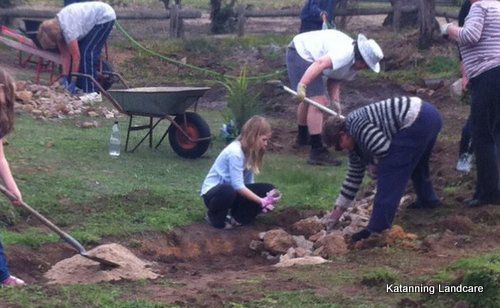
Photo Credit: Matt Collis (cropped)
- Next place coarse grained sandy soil mixed with a small amount of pine bark or wood chip material over the rock layer.
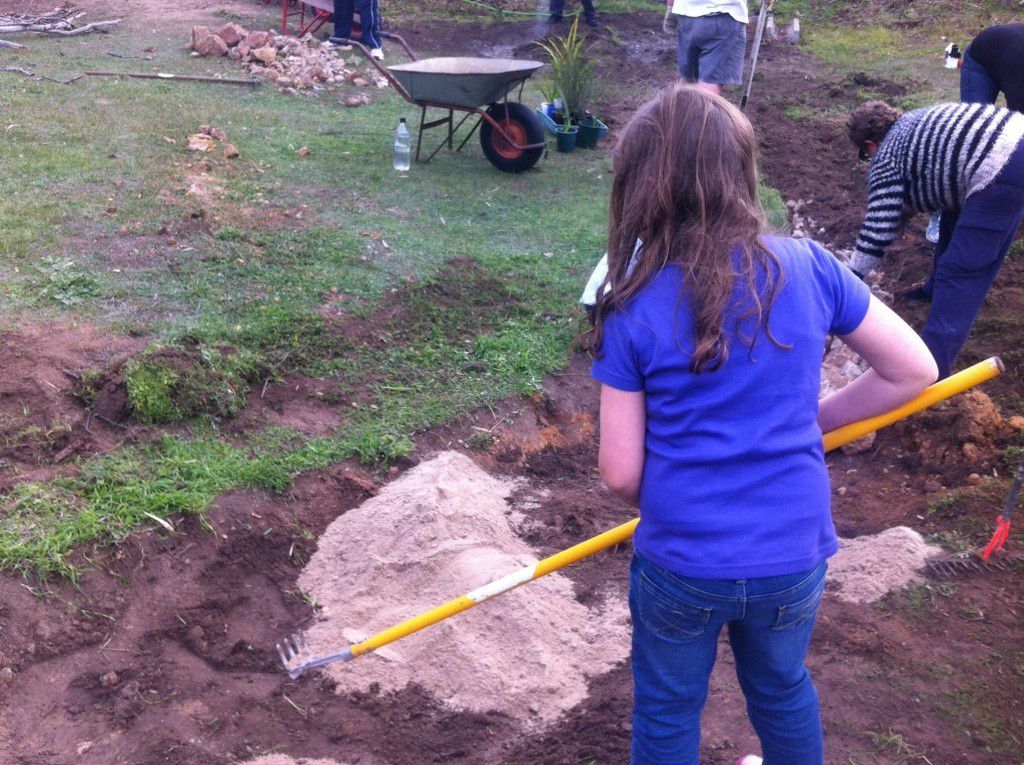
Photo Credit: Matt Collis
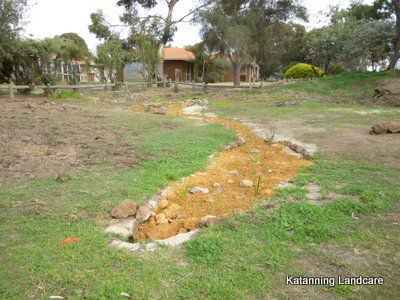
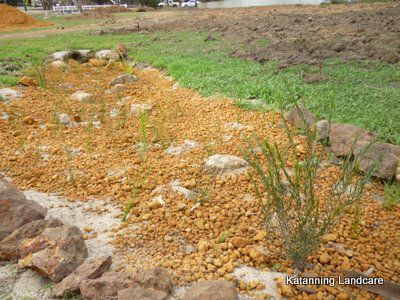
- Plant your choice of plants then cover the surface with blue metal, small stones, or washed gravel to act as mulch and protect the bed from erosion until the plants grow.
The depth of your bed will control the selection of plants. A very shallow bed is best planted with sedges or reeds.
For advice on plant selection, see the Monash University’s Vegetation Guidelines for stormwater biofilters in the south-west of Western Australia UPDATE: Only a few plants were chosen to live directly in our Rain Garden, as listed below. The surrounding garden has a wide selection of natives, approximately 50+ species were used elsewhere. – Ficinina nodosa – Astartea – Anigozanthos flavidus

Photo Credit: Matt Collis
- The edges of the bed can be planted with any vegetation. Deeper rain gardens, especially those in public areas, can incorporate larger species particularly Melaleucas which tolerate periodic inundation.


 Rain Gardens can be a beautiful addition to your landscape, and there are plenty of examples of how-to’s and photos across the web, though many examples are from North America. Here’s a sample of other instructions:
- Melbourne Water – https://www.melbournewater.com.au/using-and-saving-water-home/raingardens and https://www.melbournewater.com.au/planning-and-building/stormwater-management/options-treating-stormwater/raingardens (Australian) Shows multiple types of home-based rain gardens, and includes really informative videos. These are ‘lined’ rain gardens and most suitable for smaller blocks, but offer great practical advice.
- This Old House – https://www.thisoldhouse.com/gardening/21016338/how-to-build-a-rain-garden-to-filter-run-off (American) I love This Old House. Though it’s American, their detailed step-by-step photos with clear instructions will really help those of us who like to know what to expect at each stage of the process.
- Rain Gardens also support native biodiversity in your gardens. Check out this post from Sydney Gardeners for other things you can do to bring wildlife into your back yard – https://sydneygardeners.com.au/blog/how-you-can-improve-the-biodiversity-in-your-garden-2/
- And just one more interesting link: https://watersensitivecities.org.au/content/robust-research-industry-bond-guides-new-generation-raingardens/


I think this is a great idea for many sites. Back yards that get waterlogged?
That’s definitely one great use for them, Jill.
But you can ‘add’ water, or at least hold water, in a garden that is otherwise well-drained by using a Rain Garden, and enjoy the extra benefits that offers your garden biodiversity.
[…] Stormwater harvesting from streets, obtained by intercepting the water before it enters the below ground system, will enable attractive Water Sensitive Urban Design to transform Katanning to a greener, healthier town. (See: http://katanninglandcare.org.au/?p=532) […]